Being able to reliably connect to your network is important, whether you’re knocking out work at the office or just taking advantage of all the internet has to offer through your home network. You open your laptop or log onto your device and try to do something online – maybe it’s searching for something on your web browser, reading and responding to emails, or just watching some online videos. However, when you try to get online, you receive an error. Now what?
What is DHCP?
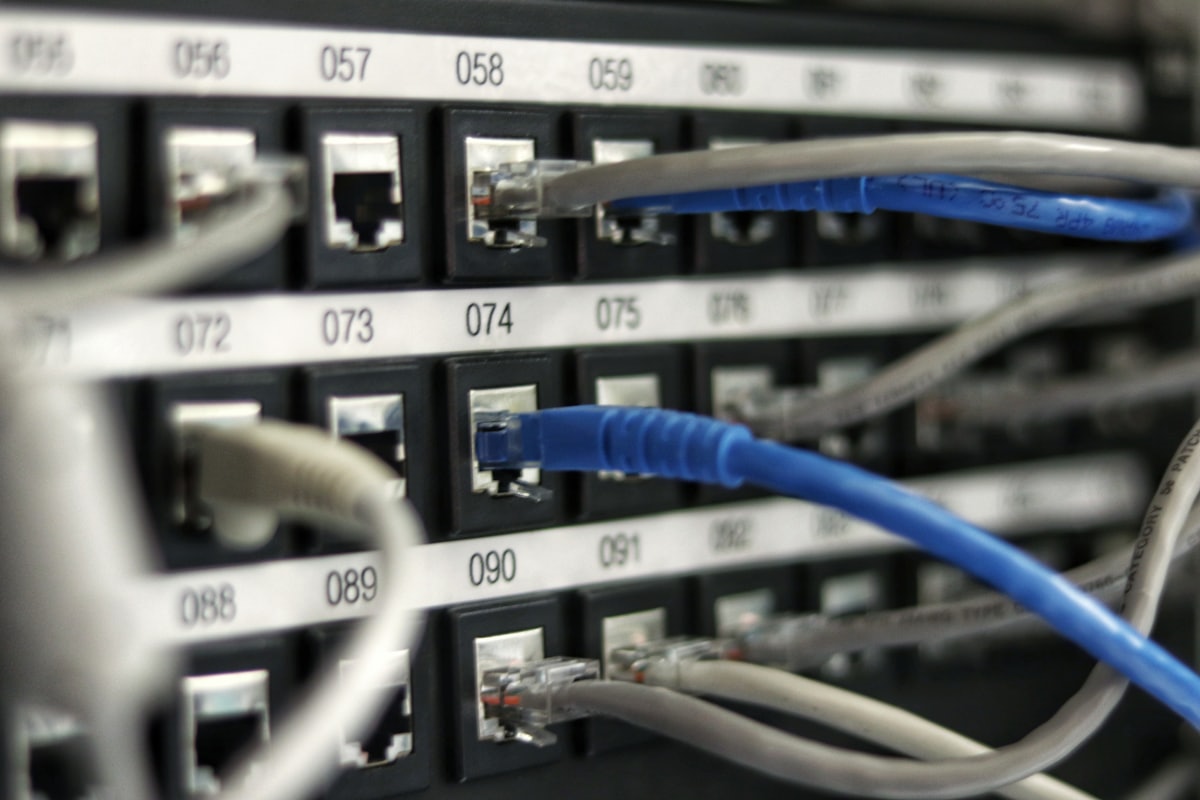
DHCP stands for Dynamic Host Configuration Protocol. Sound confusing? It’s really not. In short, DHCP allows a server or router on your network to automatically assign IP addresses to connected devices. Think laptops, desktops, and even smartphones and tablets. You won’t have to manually assign an IP address if DHCP is enabled.
Now, just like with other network settings, if the DHCP settings are incorrect or the protocol is disabled, you won’t be able to connect to the internet as you normally would. If you are unable to connect to the internet and you’ve received a DHCP error message, read on to find out how to resolve this issue.
Enabling DHCP
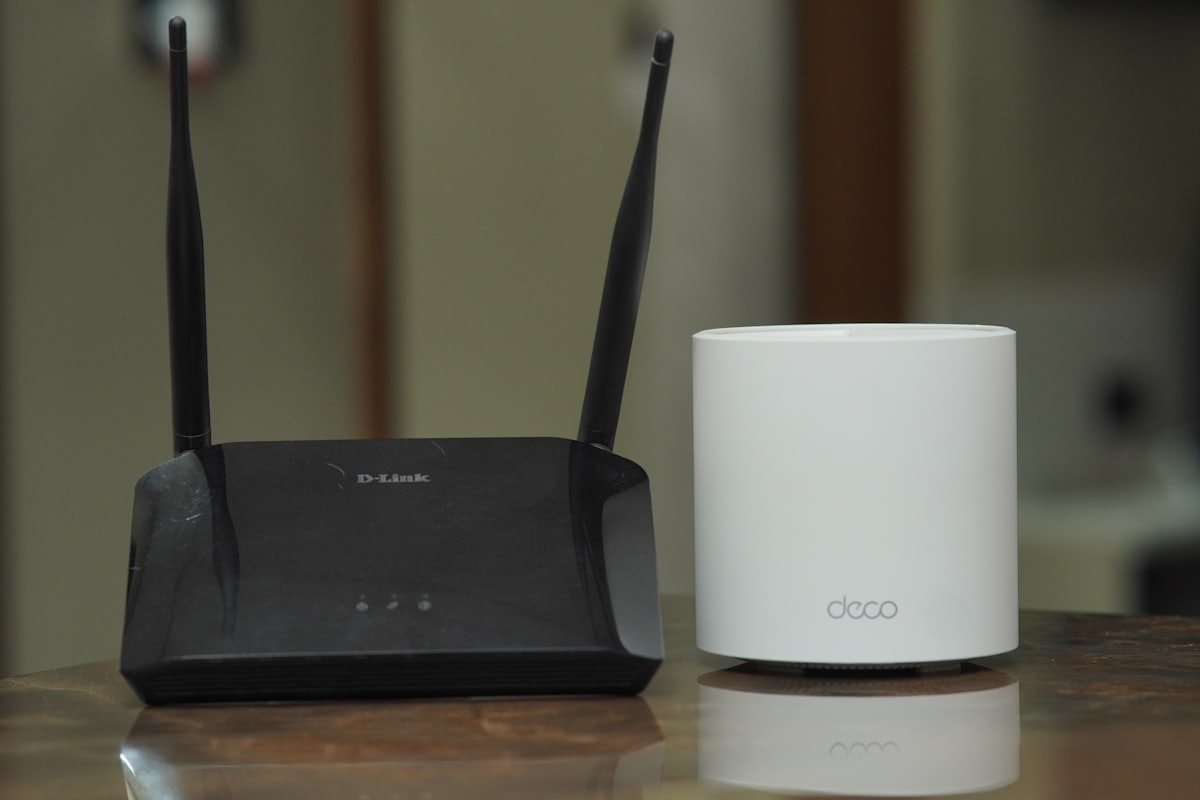
If DHCP is disabled on your computer, you won’t be able to connect, so the first thing to do is make sure it is enabled. Open Network Connections, view the adapter’s properties, and set it to obtain an IP address and DNS server address automatically for both IPv4 and IPv6. You can also disable DHCP from this menu. Once you’ve confirmed DHCP is enabled, check whether that resolved the problem. If not, it’s time to continue troubleshooting.
Resolving errors
Once you’ve enabled DHCP, reboot your router to apply any changes. If after rebooting you still receive an error message and cannot connect, it’s time to run the Windows network troubleshooter.
On Windows 10, right-click the network icon in the system tray and choose “Troubleshoot problems.” On Windows 11, go to Settings > System > Troubleshoot > Other troubleshooters and run the Network and Internet troubleshooter. Windows scans for problems, and if a DHCP error is identified you can move through the troubleshooter to resolve it.
If “DHCP is not enabled for Local Area Connection” is displayed following the scan, you will have the option to fix this issue. Select “try these repairs as an administrator.” Note that if you do not have administrator access, you will need to obtain it or allow the network administrator to finish the troubleshooting.
Follow the provided instructions as it walks you through potential solutions. If one solution does not work, move on to the next. Once Windows has found a solution, it will make the repair. Make sure that you test your connection after the repair has been made and your system has rebooted. If the problem persists, continue through the troubleshooter until a resolution for your DHCP error has been found.