Picture this: You want to get online at your office to correspond with clients, work on your presentation, and finish out your daily tasks. Maybe you’re at home, and you just want to wind down and stream video or check your social media accounts. You click on your favorite web browser – and suddenly, you’re hit with an error message. You check your connections and everything seems good. Maybe you even contact your ISP to see if there’s an outage. But these don’t seem to be the problem.
While your internet outage could be due to a number of things, one of the first that you should check for is a DHCP Not Enabled error. Maybe you’ve run troubleshooting and this is the error you’ve received. If this is the case, it’s important to understand what this error means and how you can resolve it.
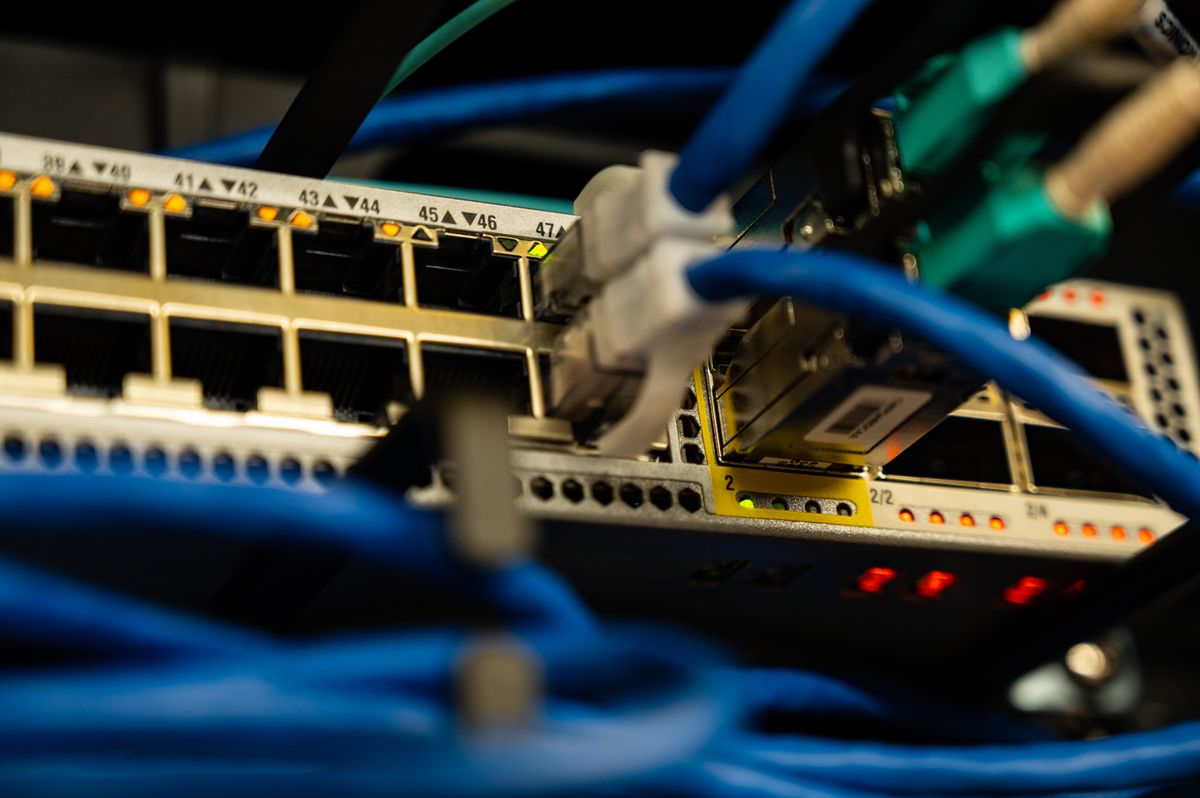
What is DHCP?
DHCP stands for Dynamic Host Configuration Protocol. The simplest way to explain it: when DHCP is enabled, a server hands each device an IP address automatically, along with a lease that sets how long the assignment lasts. DHCP can run on a dedicated server in a business, or - far more commonly at home - on your router.
To break this down further: when a device joins the network - whether it’s a laptop, smartphone, tablet, or wireless printer - it asks the DHCP server (your router) for an address, and the server assigns one automatically. But what if it doesn’t, and you’re unable to get online? In that case you’ll likely need to make sure DHCP is enabled both on the device and on your router.
DHCP not enabled: how to fix it
Maybe you have a new router, or perhaps you disabled DHCP to use a static IP. If troubleshooting shows that DHCP is not enabled, you will need to fix that before you can get online. On Windows, it’s quite easy to access and change these settings.
To enable DHCP, first access your Network Connections menu. Select your active connection. Once opened, open the Properties menu. Select Internet Protocol Version 4, and select the options Obtain an IP address automatically and Obtain DNS server address automatically. You may have to repeat these steps for Internet Protocol Version 6.
After changing your settings, save your changes. Remember, if you want to disable DHCP in the future, you’ll access the same menus, deselecting the options to obtain DNS server and IP addresses automatically. These instructions are virtually the same for all Windows platforms, although older versions may be slightly different.
How to know if DHCP is enabled
If you just want to confirm DHCP is on without going through all of the steps above, open a command prompt and run ipconfig /all. Look for the line labeled “DHCP Enabled,” which shows Yes or No for each adapter. If it says No, follow the previous instructions to enable DHCP and get back online.