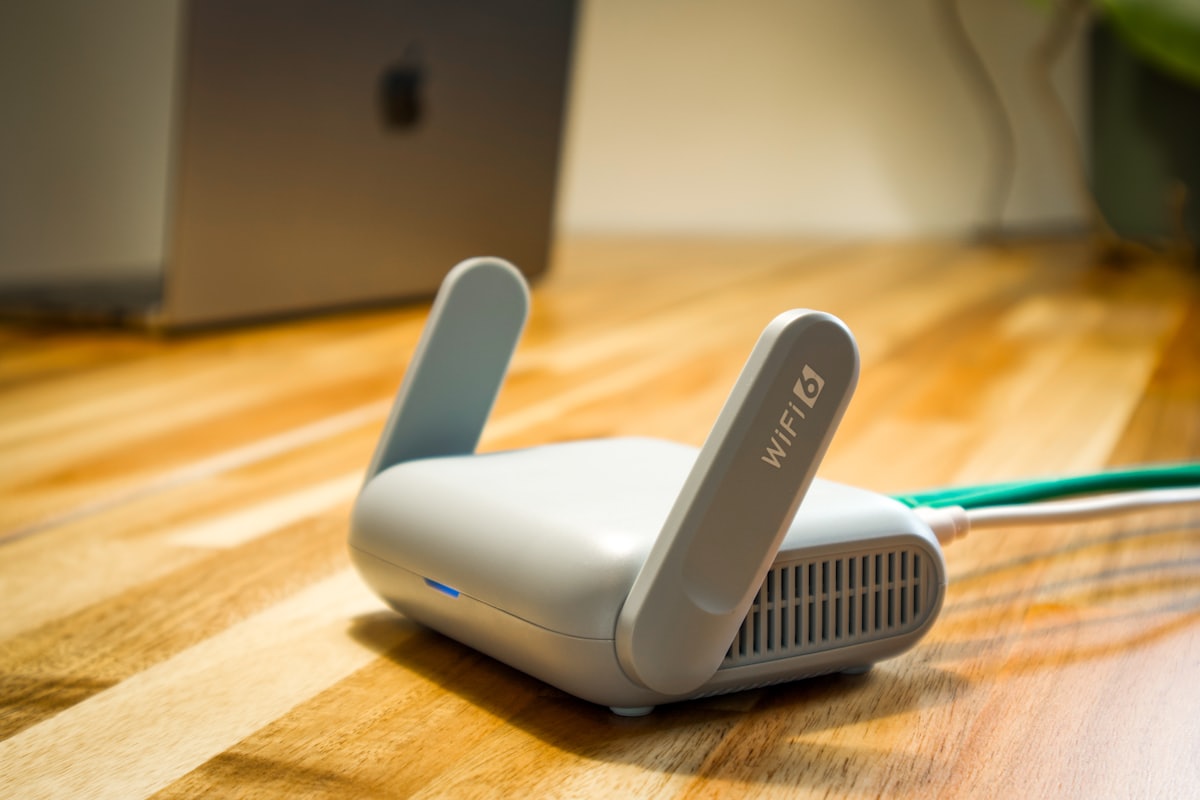
Almost every home network change - the WiFi password, the network name, port forwarding, parental controls - starts the same way: logging in to your router's admin page. That page lives on the router itself, reached through your browser at the router's IP address. Here is how to get in.
Step 1: Find your router's IP address
Your router's address is your network's default gateway. The most common addresses are 192.168.1.1 and 192.168.0.1, but it varies by brand. To find yours:
- Windows: open Command Prompt, run
ipconfig, and read the "Default Gateway" line. - Mac: System Settings > Network > Details > TCP/IP, and read "Router."
- Phone: in WiFi settings, tap the connected network and look for "Router" or "Gateway."
- The label: many routers print the default address on a sticker on the bottom.
Step 2: Open the admin page
Type the gateway address into your browser's address bar (for example http://192.168.1.1) and press Enter. You should see a login screen. If nothing loads, confirm you are connected to that router's network and that you typed the address, not a search box.
Step 3: Enter the username and password
If you never changed them, the credentials are the router's defaults - often printed on the same sticker as the IP address. If they are not on the device, look them up by brand in our default router passwords directory, which has dedicated tables for TP-Link, Netgear, ASUS, and more.
If the default password does not work
If someone already changed the admin password and you do not know it, your only option is a factory reset, which wipes all settings back to default. See how to factory reset your router. After a reset, log in with the default credentials above.
What you can do once you are in
From the admin page you can change your WiFi password, rename your network, set up a guest network, or reserve an IP via DHCP reservation. The first thing you should do is set a strong, unique admin password if you are still on the default.